90% OF SELLERS SAY THEY WOULD “DEFINITELY” USE
THE SAME AGENT AGAIN. ONLY 16% ACTUALLY DO.
NATIONAL ASSOCIATION OF REALTORS®
WHERE’S THE GAP?
In this rapidly changing world, relationships have never been more important. People are craving connections, not transactional exchanges. And yet, many struggle to adapt to this new reality, resulting in surface-level interactions and missed opportunities.
When we see people as numbers, we keep relationships superficial. We worry about being relevant rather than real. We focus on getting “in front of” instead of being with people.
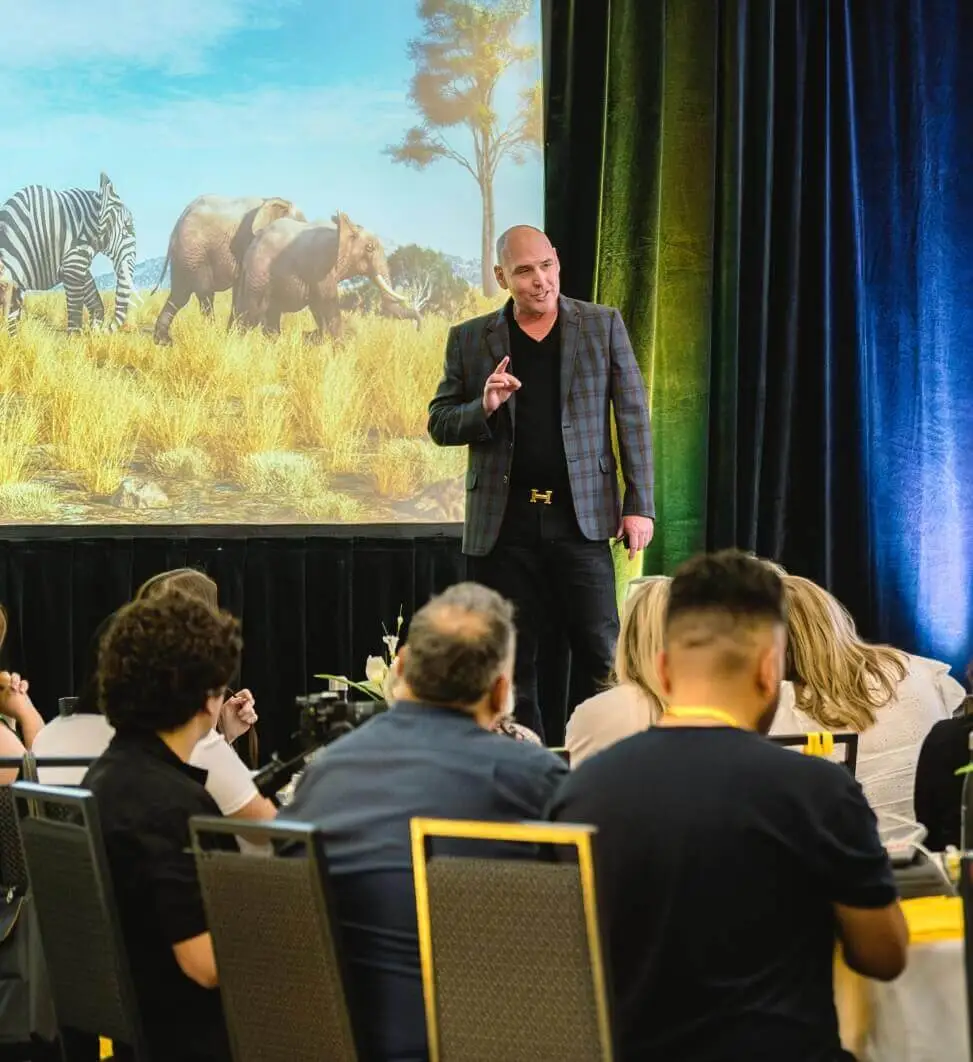
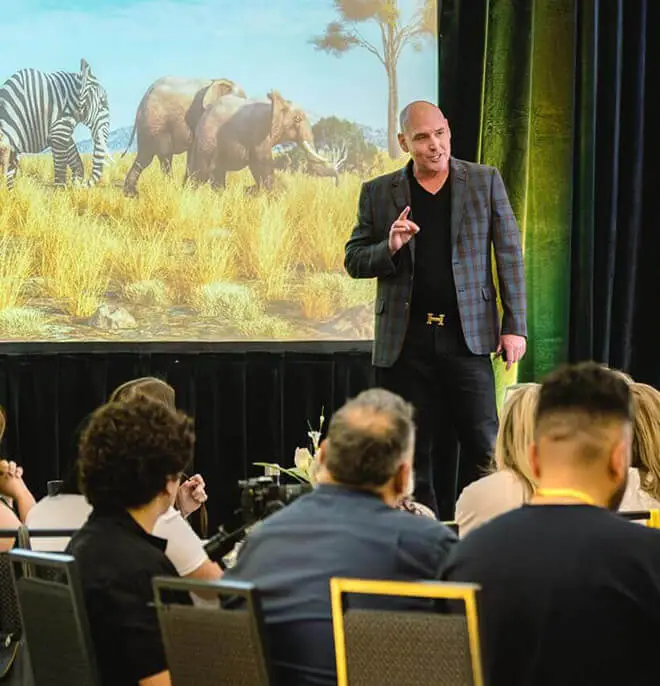
KEYNOTE TOPIC
TOP OF HEART®
GROW YOUR BUSINESS WITHOUT BURNING OUT & CHASING LEADS
GRANT WAS ON THE EDGE OF DEATH –
QUITE LITERALLY.
From millionaire before 30 to homeless & living on drugs, he reinvented himself by discovering that real success isn’t just about the hustle – it’s about the connections you create.
Gripping audiences with his powerful story and actionable strategies, Grant offers a fresh perspective on how to grow your business without burning out and chasing leads. He challenges audiences to rethink their approach to success and shift from top of mind to Top of Heart®.
Your audience will walk away with the tools and knowledge to:
- Leverage your strengths to build a consistent flow of business.
- Develop a culture of excellence that will attract your best clients.
- Fill your business with clients you love working with.
- Engage with proven principles that will change the way you communicate and interact.
- Find REAL balance without sacrificing performance.
- Generate referrals without begging for them.
- Discover your unique advantages.
- Grow your personal brand.
THESE OUTDATED
STRATEGIES FOR STAYING
TOP OF MIND SIMPLY
WON’T CUT IT.
Grant understands this firsthand. With decades of experience building businesses and nurturing relationships, he knows what it takes to be a top 1% performer. In his proven system, Top of Heart®, he dives into science-backed strategies for building real, meaningful relationships that yield a 98% referral rate.
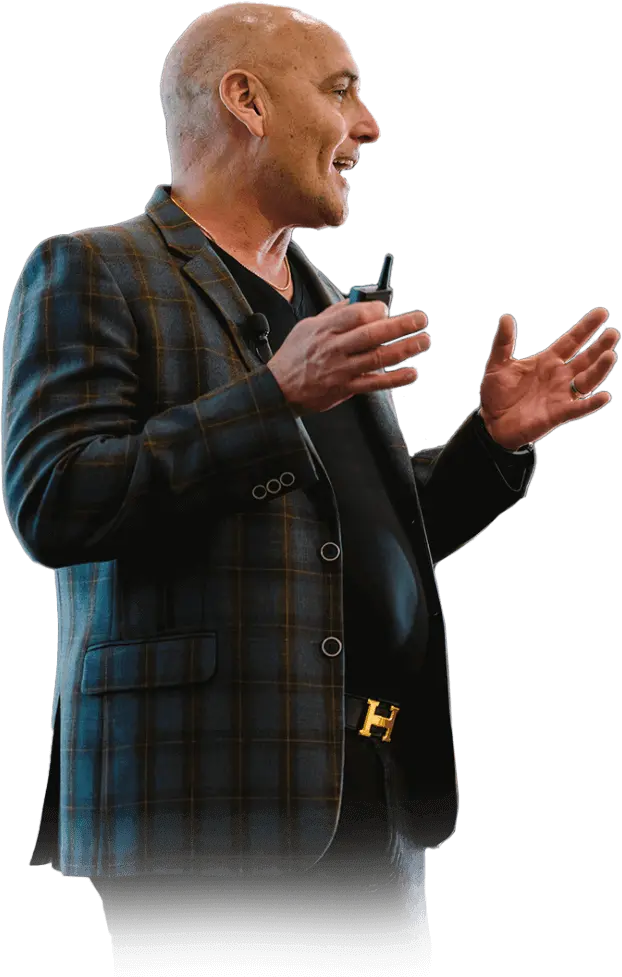
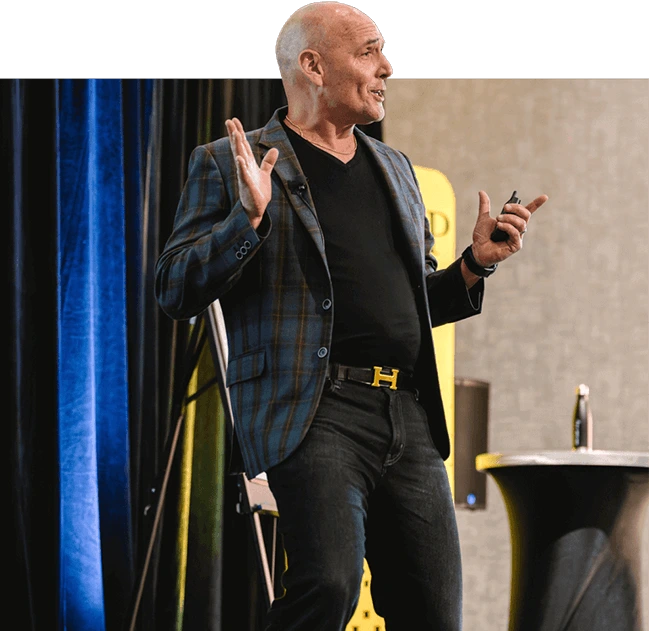
GRANT IS AN EXPERT ON HIGH PERFORMANCE, RELATIONSHIP BUILDING, SALES AND BUSINESS GROWTH.
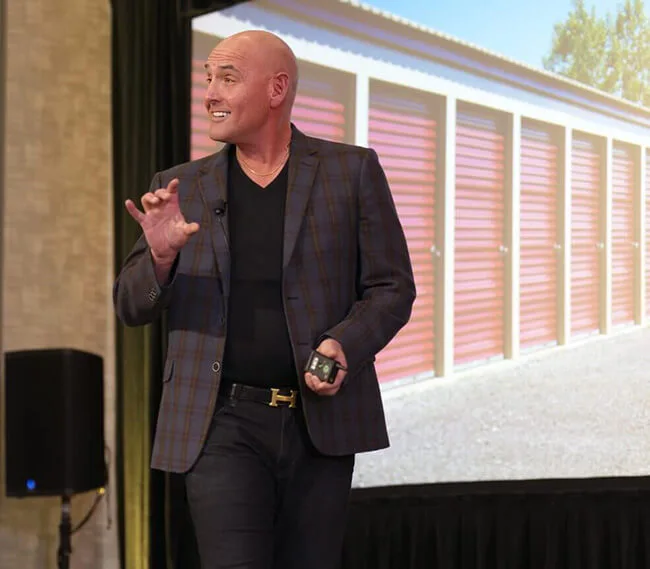
Grant has spoken on countless stages to thousands of people, inspiring them with his heart-centered approach to building relationships and achieving long-term success in business and life.
Through engaging keynotes and high-performance coaching, Grant uses his unique insights, proven frameworks, and practical strategies to help people feel recharged in their work while improving performance.
By getting real and leading with his heart first, Grant has built a 7-figure real estate business and unlocked personal fulfillment beyond anything he could have imagined.
A LEADING AUTHORITY ON BUILDING RELATIONSHIPS IN A DISCONNECTED WORLD.
Grant’s message of authenticity and genuine connections will transform how you do business and ignite the potential of your audience.
KEYNOTE
SPEAKER
HIGH-PERFORMANCE
COACH
BEST-SELLING
AUTHOR
IN 2023, TOP OF MIND
JUST ISN’T ENOUGH.
If we want to future-proof our organizations, we have to make relationship building our first priority.
TOP OF HEART®
- Organic
- Genuine
- Relationship-focused
TOP OF MIND
- Forced
- Surface level
- Tactic-driven
GRANT’S TOP OF HEART® SYSTEM
The framework that empowers you to show up as you really are, be the best of who you are, and create intentional connections with your people.
SAY YES TO A NEW & MORE MEANINGFUL WAY OF DOING BUSINESS.

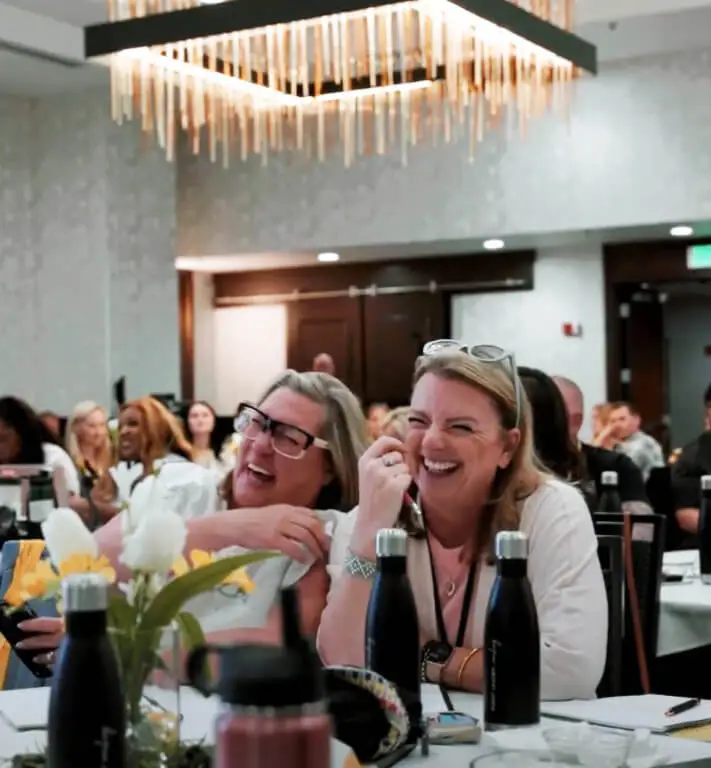
"I loved Grant's presentation."
“Very genuine, authentic and taught us how to connect with people on a deeper level than just servicing the home purchase. It’s all about connections and really about our clients.”
JENNIFER AGUILAR, Real Estate Professional